I. Introduction: Sparking the Creative Flame
Ever hear those familiar words, “Mumma/Papa, I’m bored!” Or maybe the slightly more heartbreaking, “But I can’t draw!”? If you’ve nodded along, trust me, you are definitely not alone! It’s something parents and caregivers hear all the time.
But what if I told you drawing doesn’t have to be complicated? What if it could be a source of pure fun, a way to boost creativity, sharpen those little hand muscles (hello, fine motor skills!), and maybe even give you a few precious moments of quiet time? Yes, it’s possible!
This post is your go-to guide for Easy Drawing for Kids, featuring super simple, step-by-step tutorials that any child can try. We’re talking about building confidence, one happy little line at a time.
Hi there! I’m Prents’ blogger for the past 2 years, as a [parent/teacher/hobby artist/blogger – choose what fits best], I’ve absolutely loved helping kids discover the joy of making marks on paper. I wasn’t always confident myself – I remember being a kid and feeling frustrated! But I learned that the secret often lies in starting simple. I once watched a little boy in my class, usually hesitant to join art time, absolutely beam with pride after drawing a wobbly but definitely recognisable smiley face following just two easy steps. That moment cemented it for me: easy wins are pure magic. My goal here is to share the simple techniques that truly work and get kids excited about creating.

In this article, we’ll explore why starting simple is so powerful, what basic supplies you really need (hint: not much!), and then dive into fun, step-by-step guides for drawing things like a cheerful sun, a cute cat, a simple house, and a pretty flower. Let’s get those crayons ready!
II. Why Start Simple? The Magic of Easy Wins
Jumping into complex drawings can sometimes feel overwhelming, which is why focusing on Easy Drawing for Kids is such a great starting point. Starting with easy steps is like building with big, friendly blocks:
- Boosts Confidence: When a child successfully draws something they recognize, their face lights up! These small victories shout, “Hey, I can do this!” This feeling encourages them to pick up the crayon again tomorrow, preventing frustration before it starts.
- Builds Foundational Skills: Believe it or not, simple shapes like circles, squares, triangles, and lines are the ABCs of drawing. Mastering these makes tackling more detailed pictures later much, much easier. It’s like learning letters before writing words.
- Focuses on Fun, Not Perfection: The goal here isn’t to create a museum masterpiece. It’s about the process, the giggles, the exploration, and the fun of making something appear on the page. Emphasizing effort over a perfect outcome makes art feel like play, not a test.
III. Gearing Up for Drawing Fun (Simple Supplies)
You really don’t need a fancy art store haul to get started. Keep it basic!
- Must-Haves:
- Plain paper (any kind will do – printer paper, old notebooks, the back of envelopes!)
- Something to draw with: Crayons, washable markers, or simple pencils are perfect.
- Optional Comforts:
- A flat surface like a table or even a large book.
- An eraser? Maybe. But I often encourage kids to think of “mistakes” as “happy accidents” or chances to change their drawing into something new!
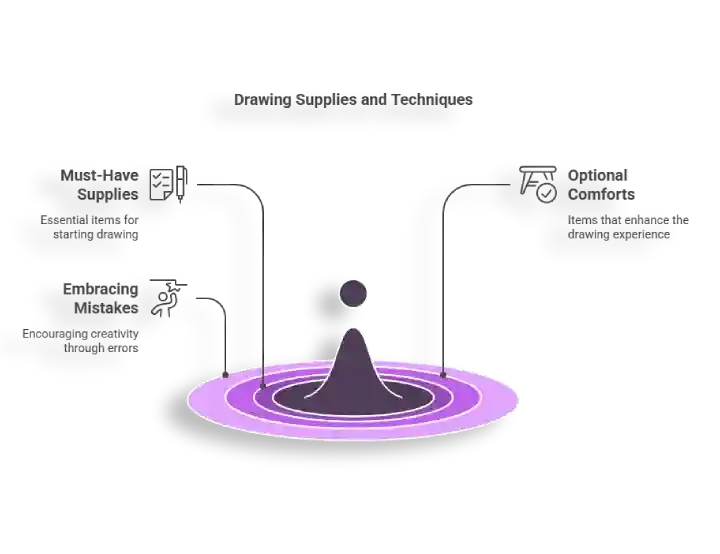
[My Tip – Experience]: I often find that thicker, chunky crayons or markers are much easier for little hands to grip firmly at the beginning. They also make lovely, bold lines! Don’t underestimate the power of a simple clipboard either – it creates a sturdy, portable drawing station.
IV. Let’s Draw! Step-by-Step Guides [Easy Drawing for Kids]
Alright, let’s get to the fun part! Here are some super simple guides for Easy Drawing for Kids that anyone can try. Remember to follow along step-by-step.
Easy Drawing Guide #1: A Smiley Sun
Let’s draw a cheerful sun to brighten our page!
- Start with a big circle: Draw a nice round shape somewhere in the middle of your paper. Don’t worry if it’s a bit wobbly!
- Add the rays: Draw short, straight lines sticking out all around the edge of your circle. They can be long, short, thick, thin – any way you like!
- Time for a happy face: Inside the big circle, draw two smaller circles for the eyes.
- Add a smile: Draw a curved line (like a banana shape) underneath the eyes for a big, happy smile.
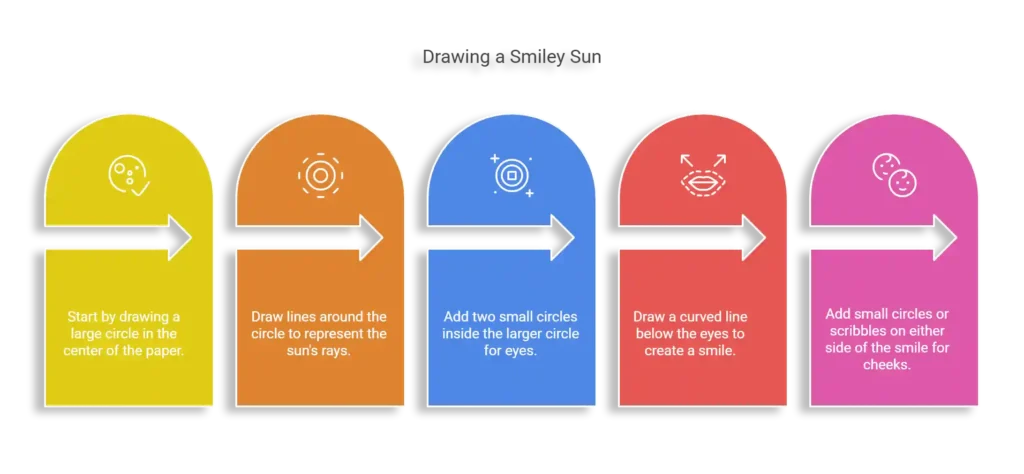
- (Optional) Rosy Cheeks: Want to make it extra cute? Add small circles or scribbles on either side of the smile for cheeks.
[Author Tip for this drawing]: Wobbly circles and uneven rays often look the most cheerful and friendly! Perfect circles are overrated.
Fantastic! Look at your bright and happy sun!
Easy Drawing Guide #2: A Simple Cat
Meow! Let’s draw a cute and easy cat face.
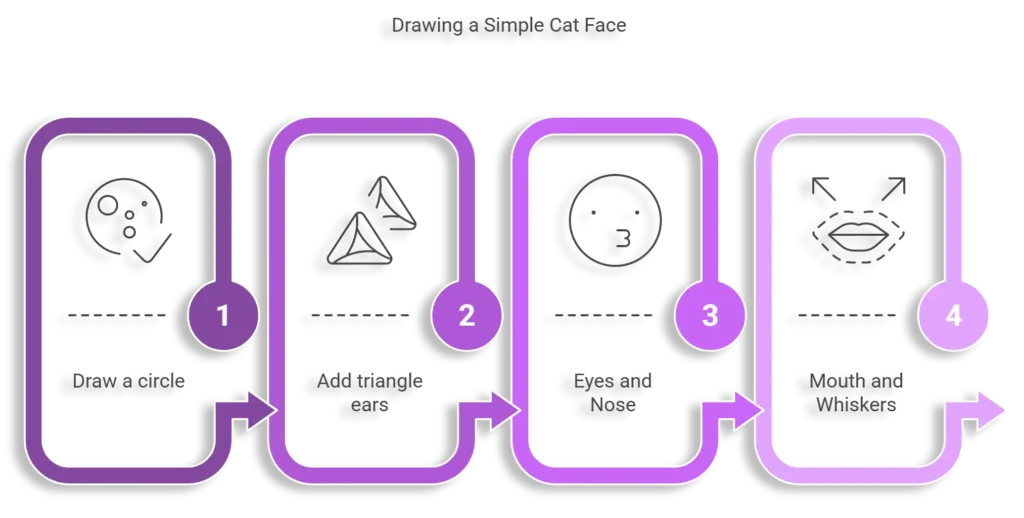
- Draw a circle: Just like the sun, start with a circle for the cat’s head.
- Add triangle ears: On the top of the circle, draw two triangle shapes for the ears. Pointy side up!
- Eyes and Nose: Inside the head circle, draw two small dots or circles for eyes. Below the eyes, draw a small triangle (pointy side down this time!) or an oval for the nose.
- Mouth and Whiskers: From the bottom point of the nose, draw a small line going down, and then two curved lines going outwards (like a stretched ‘W’) for the mouth. Add a few straight lines sticking out from near the nose on both sides for whiskers.
Great job! You’ve drawn an adorable cat face!
Easy Drawing Guide #3: A Basic House
Let’s draw a cozy little house.
- Start with a square: Draw a square shape in the middle of your paper. This will be the main part of the house.
- Add the roof: Draw a triangle sitting right on top of the square. Make the bottom line of the triangle the same as the top line of the square.
- Door and Window: Draw a rectangle shape inside the square for the door. Add a smaller square somewhere else inside the big square for a window. You can even draw a little ‘+’ sign inside the window square to make it look like window panes.
- (Optional) Chimney: Want smoke coming out? Draw a small rectangle sticking out from the side of the roof.
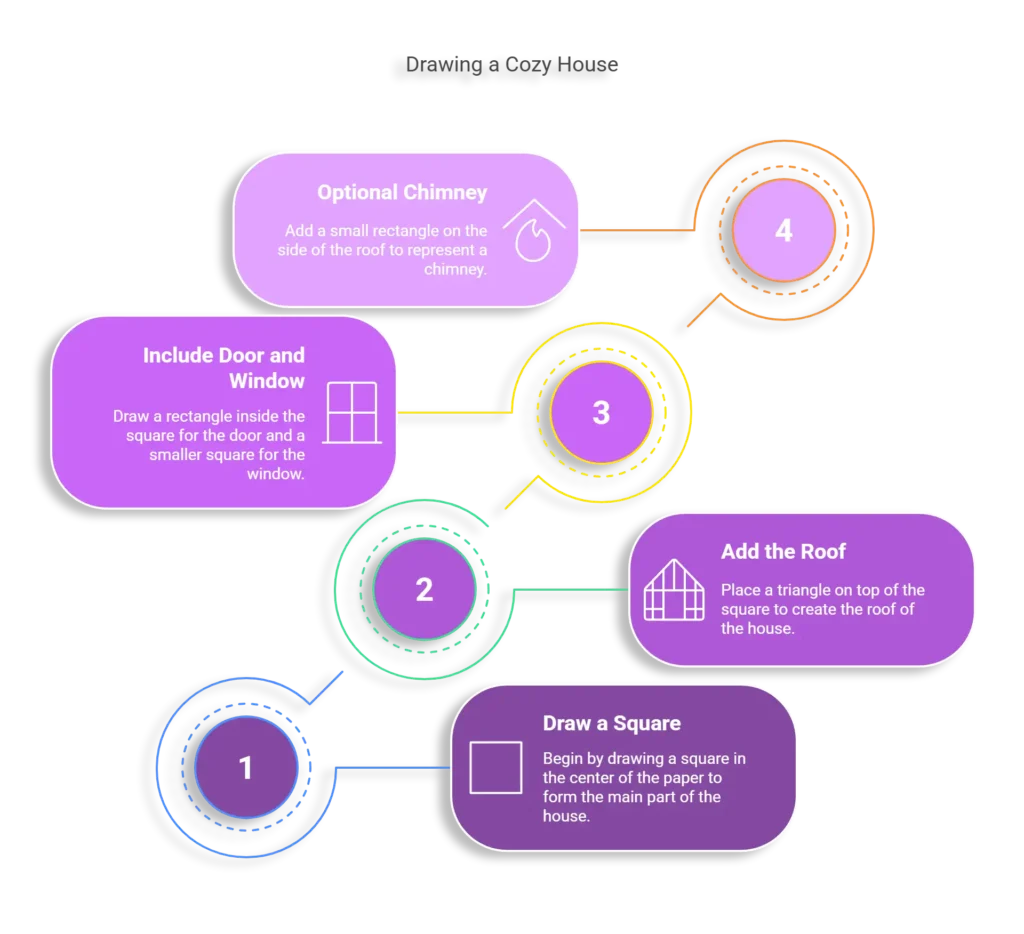
[Author Tip for this drawing]: A square and a triangle – that’s mostly it! See how simple shapes build things? You can make your door or window round if you like!
Wonderful! You’ve built a house with your drawing!
Easy Drawing Guide #4: A Pretty Flower
Let’s draw a simple, beautiful flower.
- Start with the center: Draw a small circle in the middle of where you want your flower to be. This is the center part.
- Add the petals: Draw bigger curved shapes (like stretched ‘U’s or oval shapes) all around the center circle. These are the petals. Let them touch the center circle. Draw as many as you like!
- Draw the stem: Draw two parallel lines going down from the bottom of the flower petals. This is the stem. Make it as long or short as you wish.
- (Optional) Add a leaf: Draw a pointy oval shape attached to the side of the stem. You can even draw a line down the middle of the leaf.
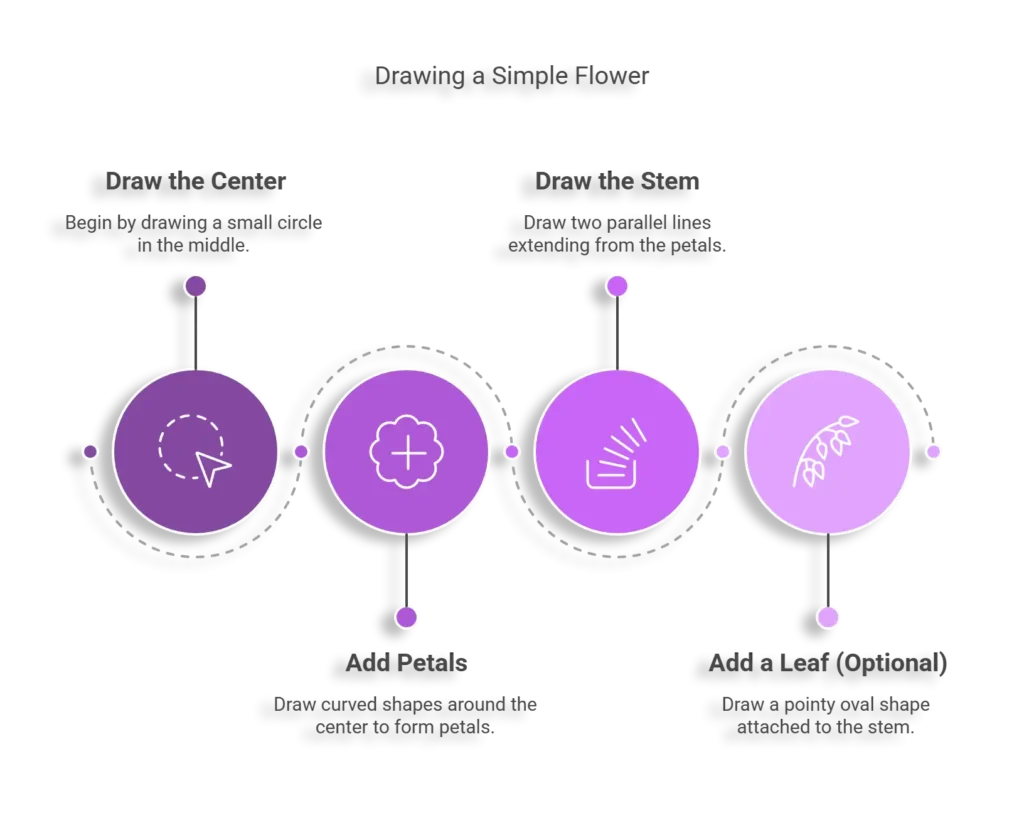
[Author Tip for this drawing]: Petals can be all sorts of shapes – pointy, round, long, short. Try different kinds! There’s no wrong way to draw a flower petal.
Beautiful work! Your flower is ready to bloom!
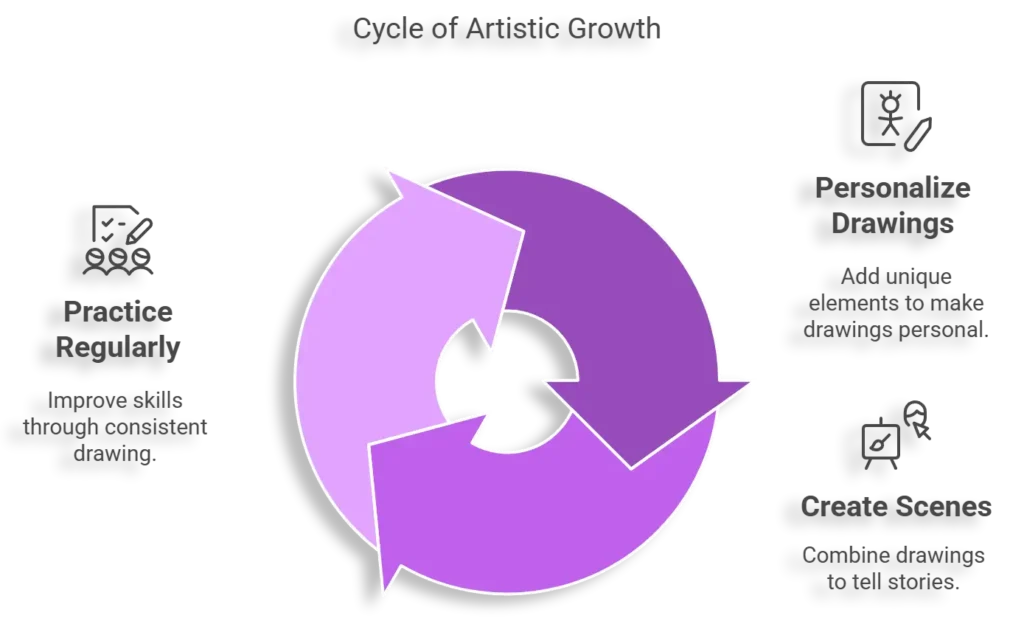
V. Taking it Further: Next Steps & Variations
These simple drawings are just the beginning! Encourage your little artist to: Easy Drawing for Kids
- Make it Yours: Add colours! Give the cat stripes or spots. Draw patterns on the house. Make a rainbow-coloured sun! Use different colours for the flower petals.
- Create a Scene: Now that they can draw a few things, maybe draw the sun above the house? Or a cat sitting next to the flower? Combine the simple drawings to tell a small story.
- Practice Makes Progress: Remind them that drawing, like riding a bike or learning a song, gets easier the more you do it. Every drawing they make helps their hand learn and improves their Easy Drawing for Kids skills.
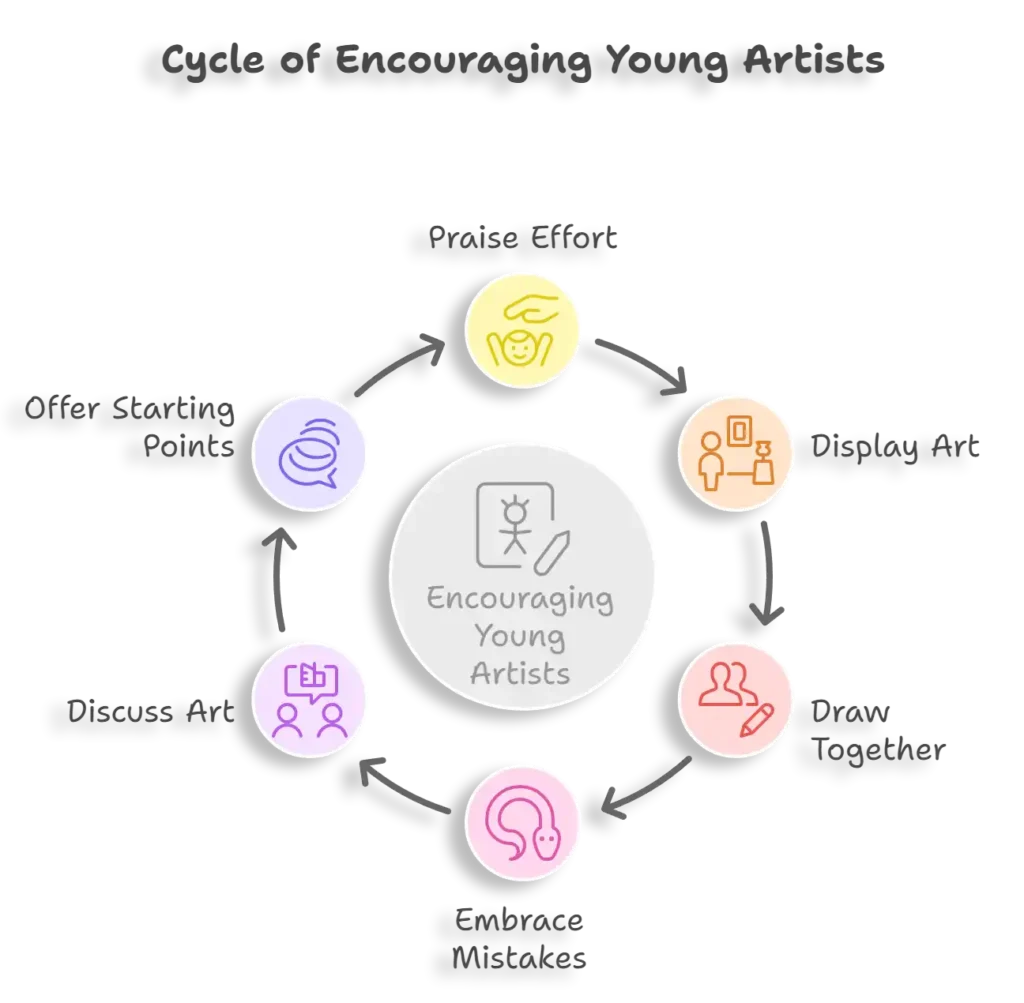
VI. My Top Tips for Encouraging Young Artists
As someone who loves seeing kids light up when they create, here are my most important pieces of advice:
- Praise the Effort, Not Just the Result: Instead of just “That’s a good drawing,” try “Wow, look how carefully you drew those lines!” or “I love how you decided to add purple stripes!” This focuses on their actions and choices.
- Be the Art Gallery: Display their creations proudly! On the fridge, on a corkboard, even taped to the wall (with painter’s tape!). It shows you value their work.
- Draw With Them: Sit down and draw too! Don’t worry about being perfect yourself. Model that it’s okay to make mistakes and that drawing is enjoyable. Laugh together about wobbly lines.
- Embrace “Mistakes”: Talk openly about how unexpected lines or shapes aren’t failures. Ask, “Oops, that line went sideways! What could it become now? A snake? A river?” This builds resilience.
- Talk About Their Art: Go beyond “Nice!” Ask open-ended questions like, “Tell me about your picture.” You’ll be amazed at the stories and ideas behind their drawings. It shows you’re genuinely interested.
- Offer Simple Starting Points: Sometimes a blank page is intimidating. Try drawing just one shape – like a squiggle or a circle – and ask, “What could this turn into?” It can spark their imagination without pressure.
VII. Conclusion: Keep Creating!
See? Easy Drawing for Kids doesn’t have to be hard! Starting with simple shapes and easy steps can unlock a world of fun, creativity, and confidence for your child. The most important thing is to have fun and enjoy the process of making something unique.
So, grab some paper and crayons, and give one of these guides a try! Let the creative adventure begin.
Let’s learn Easy Drawing for Kids with this Step by step conclusion.

What do you think about Easy Drawing for Kids: Simple Step-by-Step Guide?
- Which drawing will you and your little artist try first? Let us know in the comments below!
- We’d love to see their creations! Share them with us on [Your Social Media Link/Platform] using the hashtag #[YourHashtag]!
- Want more fun activity ideas delivered to your inbox? [Link to your Newsletter Sign-up]!
VIII. Frequently Asked Questions (FAQ)
(Optional but Recommended – Use Schema Markup if possible)
- Q1: What age is best for these easy drawings?
- A: These guides are designed to be super simple! They often work well for preschoolers (ages 3-5), but older kids who are just starting out or feel unsure about drawing can enjoy them too. The key is simplicity, so adapt as needed!
- Q2: What if my child gets frustrated and says they can’t do it?
- A: First, validate their feelings (“It’s okay to feel frustrated sometimes!”). Then, try simplifying even more – maybe just focus on drawing circles today, or offer to hold their hand while they draw the first line. Take breaks, keep it light, and focus on the fun parts, like choosing colours. Remind them it’s okay if it doesn’t look exactly like the picture.
- Q3: Do we really need special art supplies?
- A: Absolutely not! Basic paper and crayons, markers, or pencils are perfectly fine for trying out Easy Drawing for Kids. Expensive supplies don’t make the drawing experience better, especially for beginners. Use what you have!
- Q4: How can I help my child come up with their own drawing ideas after trying these?
- A: Encourage them to look at simple things around them – their favourite toy, a fruit on the table, the shape of a cloud. Look through picture books together and point out the simple shapes used by the illustrator. Ask “What else is round like the sun?” or “What else has triangles like the cat’s ears?”